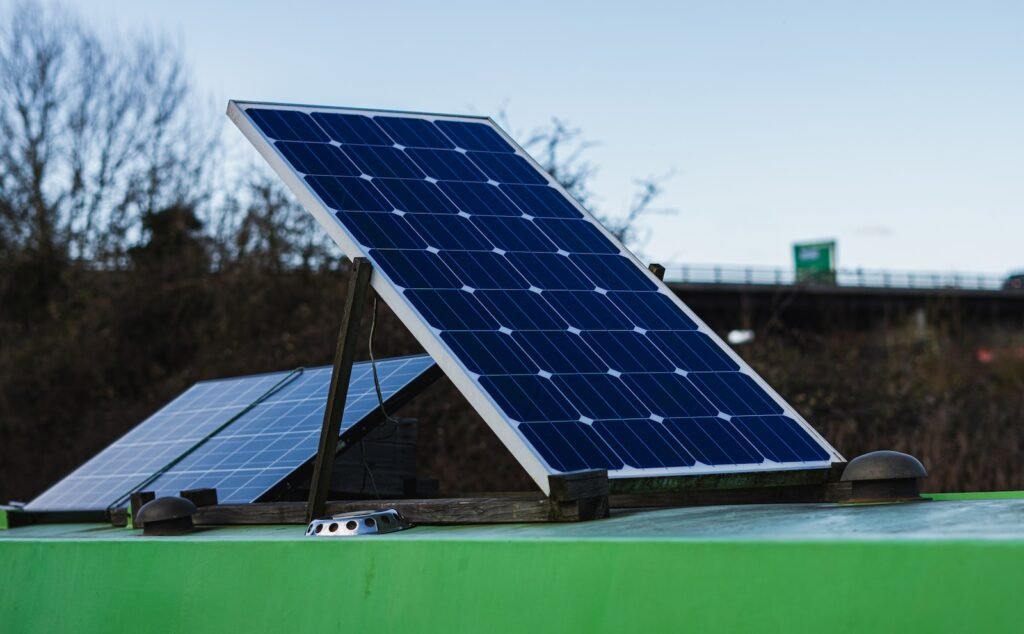
Harnessing Solar Power for Metal Detector Charging
Metal detecting is a popular hobby for treasure hunters and outdoor enthusiasts alike. However, one common challenge that metal detector users face is ensuring that their devices are always powered up and ready for use. Thankfully, with the advancements in solar technology, it is now possible to harness the power of the sun to charge your metal detector. In this efficient guide, we will walk you through the process of constructing a solar panel hat specifically designed for metal detector charging. With this innovative solution, you can enjoy uninterrupted detecting sessions while minimizing your environmental impact.
Step 1: Gathering the Materials and Tools You’ll Need
Before you embark on constructing your solar panel hat, it is crucial to gather all the necessary materials and tools. You will need a small solar panel (around 6 to 12 volts), a hat with a wide brim, strong adhesive or glue, electrical wire, a soldering iron, flux, solder, a small diode, and a small battery. Additionally, you may also require basic hand tools such as wire cutters, pliers, and a screwdriver. Ensuring you have all the materials and tools ready will make the construction process smoother and more efficient.
Step 2: Designing the Perfect Solar Panel Hat for Your Metal Detector
Designing a solar panel hat that perfectly fits your metal detector is essential for optimal efficiency. Start by measuring the dimensions of your metal detector and the available space on your hat’s brim. Take into consideration the size and weight of the solar panel, ensuring it is not too heavy or obstructive. It is also important to plan the placement of the solar panel on the hat to maximize sun exposure while maintaining a comfortable fit. Once you have a clear design in mind, you can move on to the next step.
Step 3: Basic Circuitry: Understanding How the Solar Panel Works
To construct a solar panel hat, it is essential to have a basic understanding of how solar panels work. Solar panels convert sunlight into electrical energy through a process called the photovoltaic effect. When sunlight hits the solar cells in the panel, it generates a flow of electrons, producing direct current (DC) electricity. The electrical energy is then stored in a battery for later use. By comprehending this fundamental concept, you will be able to assemble the solar panel hat more effectively and troubleshoot any potential issues that may arise.
Step 4: Assembling the Solar Panel Hat: A Step-by-Step Guide
Now that you have gathered the materials, designed your solar panel hat, and understood the basic circuitry, it’s time to start assembling! Begin by attaching the solar panel to the brim of your hat using a strong adhesive or glue. Ensure it is securely attached and well-positioned for optimal sun exposure. Next, connect the solar panel to the diode using electrical wire, soldering them together carefully. The diode prevents the battery from discharging through the solar panel at night. Finally, connect the diode to the battery, creating a closed circuit for energy storage. Follow these steps meticulously to ensure a well-functioning solar panel hat.
Step 5: Mounting the Solar Panel Hat on Your Metal Detector
Mounting the solar panel hat onto your metal detector is a crucial step to ensure convenience and ease of use. Depending on the design of your metal detector, you may need to use adhesive, straps, or brackets to attach the hat securely. Ensure that the solar panel is facing upwards and receiving direct sunlight. Additionally, make sure the solar panel hat does not interfere with the functionality of your metal detector or impede your movement. Once properly mounted, you will have a fully functional solar-powered metal detector that can be used anytime, anywhere.
Step 6: Charging and Maintenance Tips for Optimal Performance
To maximize the performance and lifespan of your solar panel hat and metal detector, it is important to follow some charging and maintenance tips. Firstly, place your metal detector in direct sunlight whenever possible to allow the solar panel to charge the battery efficiently. Regularly check the battery’s charge level and ensure it is not overcharged or depleted. Avoid exposing the solar panel hat to extreme temperatures or harsh weather conditions that could damage the components. Lastly, periodically clean the solar panel hat to remove any dirt or debris that may inhibit its performance.
Embrace Efficiency with Your Solar Panel Hat
By constructing a solar panel hat for metal detector charging, you are not only embracing efficiency but also reducing your reliance on traditional power sources. This innovative solution allows you to enjoy uninterrupted metal detecting sessions while minimizing your environmental impact. Through the step-by-step guide provided in this article, you now have the knowledge and tools to create your own solar panel hat. Embrace the power of the sun and harness its energy to power your metal detector, opening up countless opportunities for exploration and discovery. Start constructing your solar panel hat today and take your metal detecting adventures to new heights!

